~K
Friday, June 8, 2012
Lara's adorable room
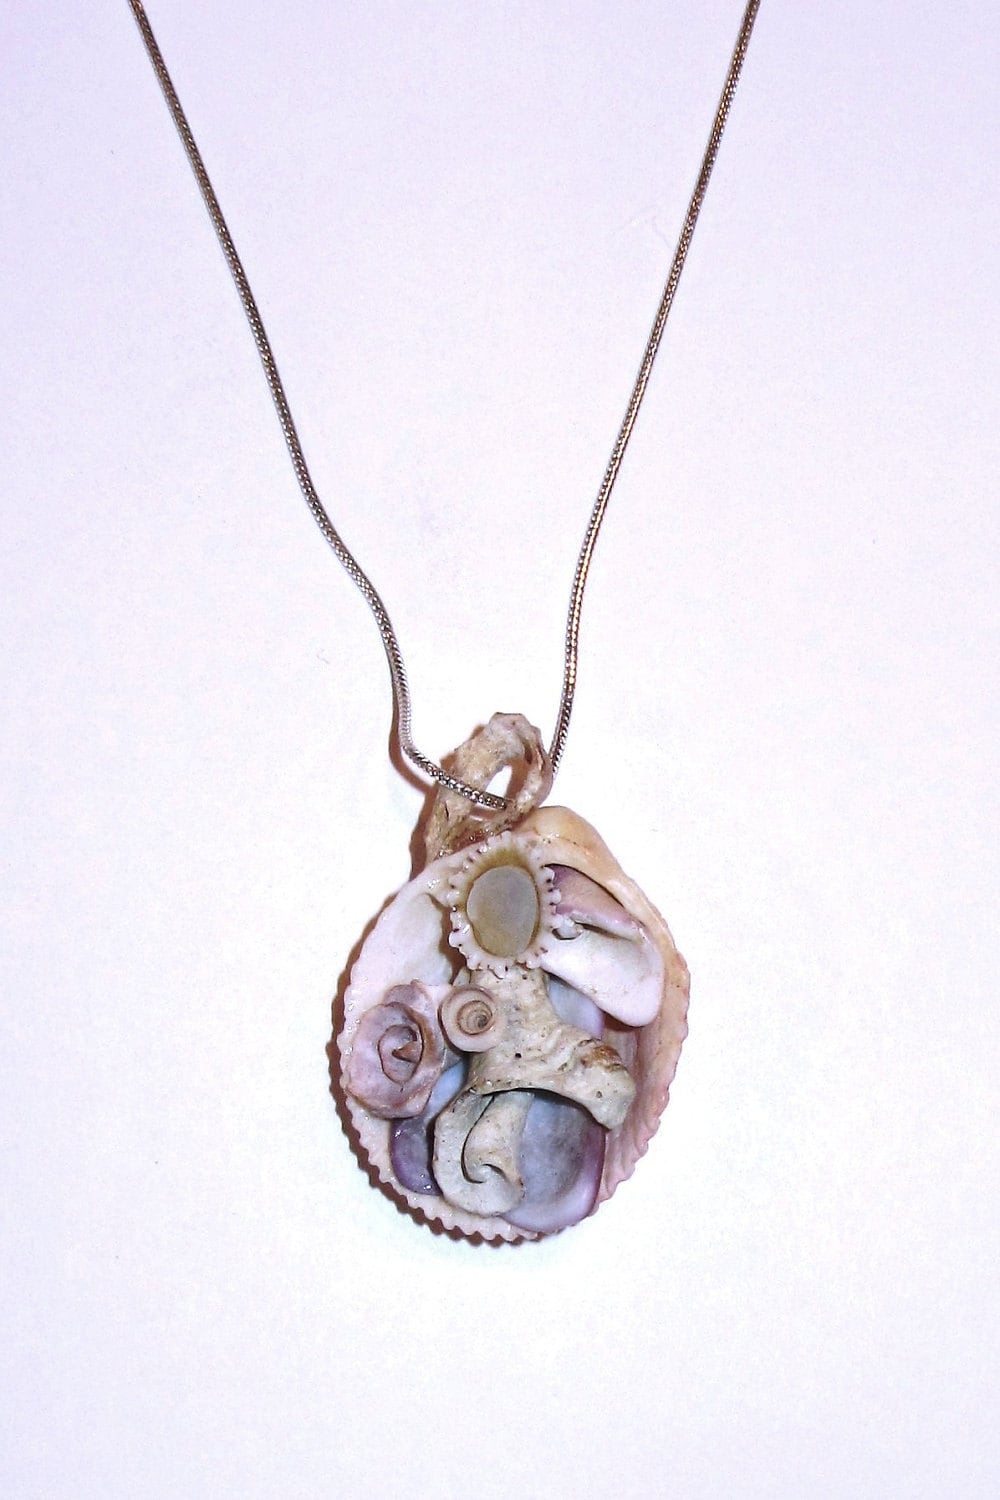
So I got permission to do a post on Lara's room:) I love her color scheme, the small beachy touches, and the random pieces that go together so well!
~K
~K
Thursday, June 7, 2012
DIY: lace bow tutorial
My sister somehow inherited a shoe box full of different lengths of lace, and I have been trying to figure out how to use it up. Then I happened upon the idea of using lace to make little bows:)
First, cut two lengths of lace. I cut mine 5 and 7 inches long, but you can do whatever size, depending on how big you want the bow to be and if you want the layers to be noticeable.
Using a hot glue gun, secure one end of the lace to the other end, making sure that the bottom side of the lace doesn't stick.
Cut another piece of lace (I made mine about 2 or 3 inches just to be safe).
Glue gun 1/3 towards the center, and then the other 1/3 on top of that.
Glue the two original layers of lace together.
Wrap the third piece of lace around the other two, using hot glue to secure. Cut off any extra lace. And you're done!
Each bow will look entirely different, depending on the lengths that you use and how tightly you pull the center piece.
My sister attached the top bow to a bobby pin, and I used the one on the bottom to decorate a pouch that I made for my iPod:)
Wednesday, June 6, 2012
button pouch:)
In a recent project, Lara and I used up a bunch of scraps for a really fun and easy decoration piece. After that, I was inspired to use up some more pastel scraps.
And I met my match over at seekatesew. I love all her tutorials and ideas, and this one was too cute to pass up:)
I decided to use up some blue cotton that my mom had used on a blouse for me. A big off-white button was the perfect compliment:)
This pouch will be the perfect size for random objects that need a spot in my purse:)
Then, just because mini is always so fun, I decided to try my hand at an iPod nano sized pouch. I reduced the measurements from 5 inches down to 3 inches, and it is just the prefect size for a nano!
As you can see, I decided to exchange snaps for the big button on this one.
Go checkout Kate's tutorial here. While you're there, check out some of my favorite tutorials! (book clutch, scrap map, and box pleat lace headband)
And I met my match over at seekatesew. I love all her tutorials and ideas, and this one was too cute to pass up:)
 |
| (source) |
I decided to use up some blue cotton that my mom had used on a blouse for me. A big off-white button was the perfect compliment:)
This pouch will be the perfect size for random objects that need a spot in my purse:)
Then, just because mini is always so fun, I decided to try my hand at an iPod nano sized pouch. I reduced the measurements from 5 inches down to 3 inches, and it is just the prefect size for a nano!
As you can see, I decided to exchange snaps for the big button on this one.
Go checkout Kate's tutorial here. While you're there, check out some of my favorite tutorials! (book clutch, scrap map, and box pleat lace headband)
I've been featured!
Saturday, June 2, 2012
DIY: Embroidery hoops and thread spools
Subscribe to:
Comments (Atom)


