Showing posts with label spring. Show all posts

Monday, February 17, 2014

DIY Coffee Cozy w/Sunshine Shoppe Supply

 
I'm back today with another fun tutorial for you: a super easy, no-sew coffee cozy with a cute flower:)  If you didn't see my Shabby Heart Sweatshirt, go check it out!  But make sure to come back!;)
 
Once again, the flower in this project is from the Sunshine Shoppe Supply.
 
You will need
  • Felt
  • Fabric scissors
  • Coffee cozy template (I used the pattern from this site)
  • Pins
  • Sewing machine
  • Hot glue gun
 
Cut your coffee cozy out of felt.

 Pin the short ends together.
 
 Sew with 1/4" seam allowance
 
 Iron down the middle of the seam so that it is not sticking up off of the coffee cozy and turn inside out.
 
 
Put glue on the back of your flower in a spiral and press it on to the coffee cozy.  You can either put it on the seam to hide it, or directly across from it.
And voila, you have a super easy coffee cozy with a pop of color that you need until spring comes along!:)

Now take your coffee and go cozy up with a good book...out in the woods if you'd like!  Oh, and you might wanna make the sweatshirt so that you don't get too cold;)

Don't worry, the weather's not always perfect here.  It was actually like 20 degrees when we were taking these pictures.....and we had 9 inches of snow 3 days later:)
 
~Kelsey
 
I was featured on:

I was featured at Creativity Unleashed!
 Linking up to:

Saturday, February 8, 2014

Heart Sweater w/Sunshine Shoppe Supply and Giveaway! (closed)

Hello there!  Today I have an awesome (somewhat last-minute) Valentine's Day project for you!  But you know, this can go so far past Valentine's Day!  I'm pretty sure I'm going to be wearing this sweatshirt all spring, and maybe some cool evenings in the summer!!!
 
I've worked together with Sunshine Shoppe Supply to create a few items using their supplies.  I'm excited to show you what I've come up with!  But without further ado, let's get started!!!
 
Supplies:
  • Shabby Flowers (I used 16, but this will just depend on the shape and size of your heart
  • Crewneck sweatshirt (I found this one at Target for under $5)
  • Basic sewing supplies
The shabby flowers come on mesh like this.  To begin with, cut each strip so that all of the flowers are separate and then trim the mesh off from around the flower, being careful to not cut the stitches that hold the flower onto the mesh!
 
Next, lay out the flowers how you like them on the sweatshirt.  Start with the two center flowers to make sure that they are perfectly centered and go on from there.  I rearranged a few times until I had the perfect color combo and heart shape that I wanted.
 
Pin each of the flowers in place (careful that you do not mess up the others while you are pinning one down).
 
You are going to sew a circle on top of each flower.  Each flower is constructed somewhat like a spiral.  Start sewing at the "entrance" of the spiral and continue in a circle until have gone a full circle and are at the beginning again.  Don't forget to backstitch at both the beginning and the end!
 
Keep sewing until you have all of them tacked on........and you are finished!  Super easy right?!:)
 

The shabby flowers were super easy to work with, and I love all of the different colors!  They may fray a little bit, but don't worry about that.  There is one flower that has frayed more than the rest, and everyone who compliments me on the sweatshirt says that one is their favorite!;)
 
Are you ready for the giveaway???!!!  Every blogger always says that she wishes she could enter her own giveaways, and I really do ha!
Sunshine Shoppe Supply is so generously offering a $35 gift card to one of my readers!  So go check out their website and come back here to enter to win!


The flowers for this project were provided by the Sunshine Shoppe Supply.  They did not pay me to do this post but did provide the flowers.  All opinions and statements are my own.


Linking up with:


Monday, August 6, 2012

Spring party: dessert table

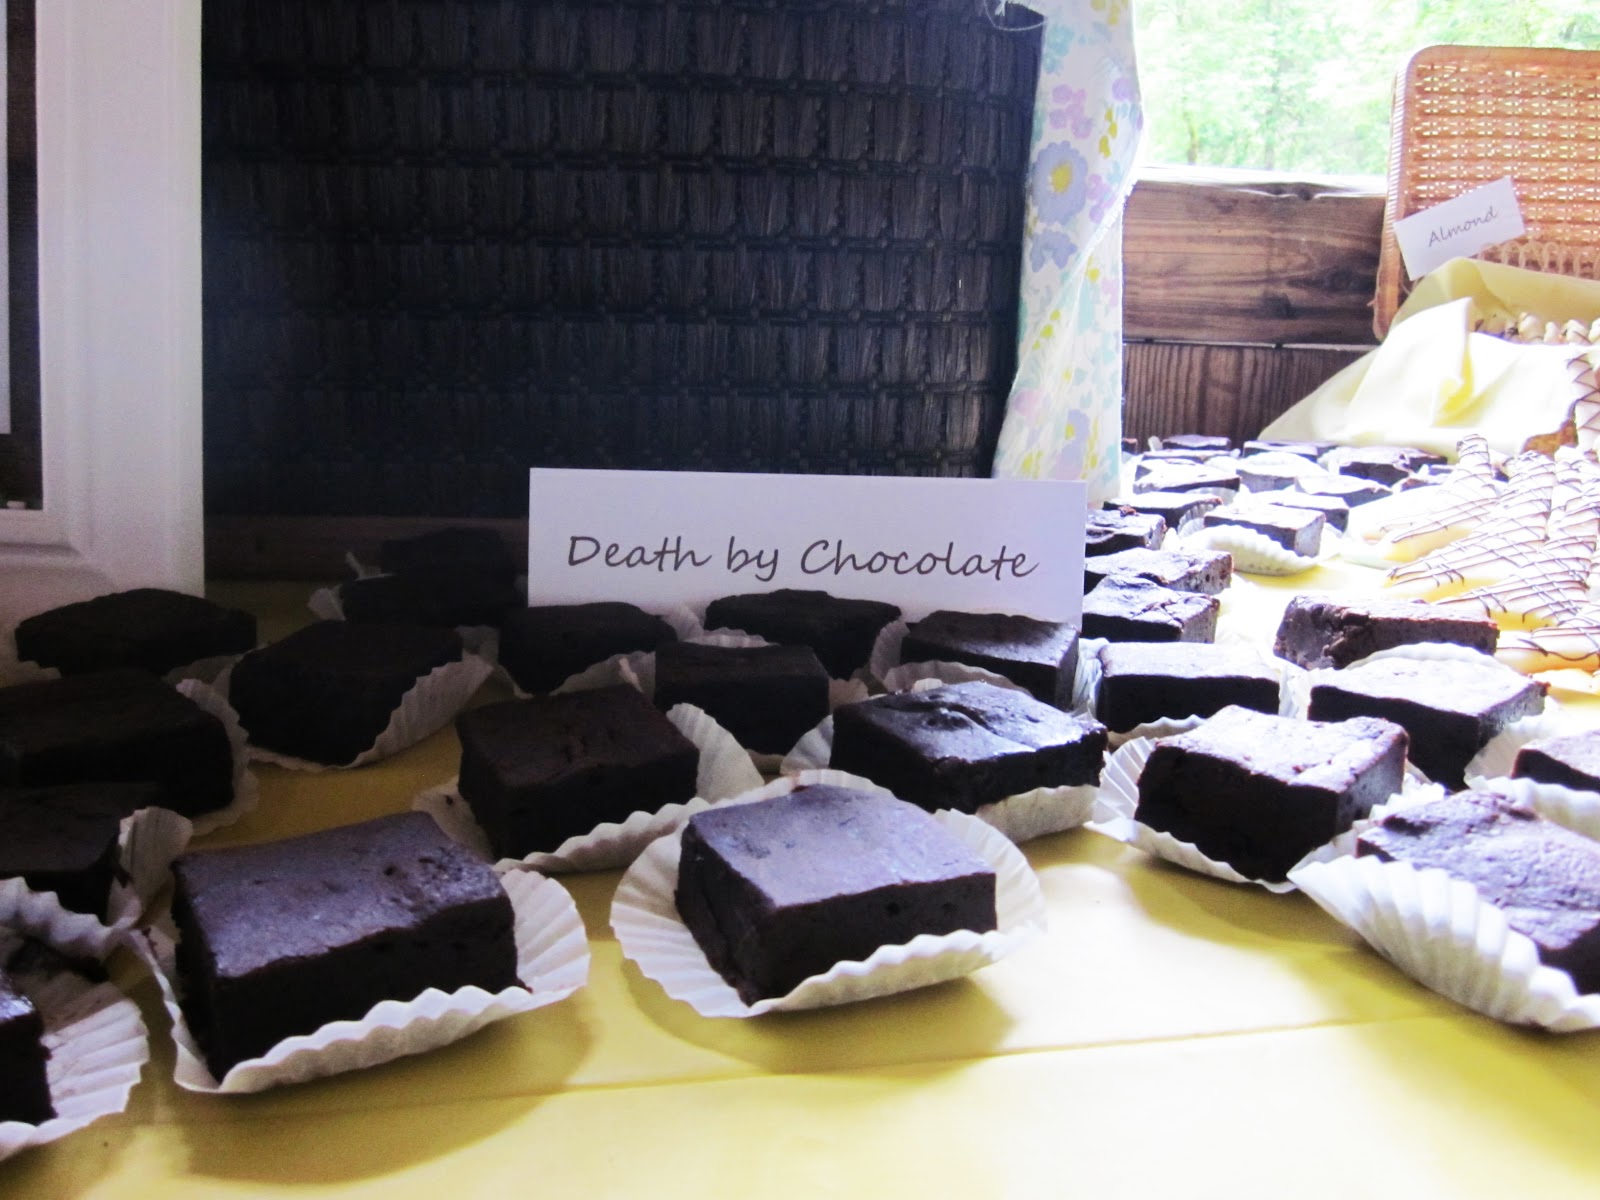
For my sister's graduation, my family hosted a big barbecue at a local park for family and friends.  Lara normally makes a special cake for the party (aka life-sized basketball shoe, waterbottle, trombone in case), but she had a better idea for this one.  Stephanie loves all things vintage and girly, so Lara decided to create an adorable dessert table with many different options.  She made button cookies, confetti, orange, strawberry, and lemon cupcakes, Neopolitan rice crispy treats,  Eiffel tower-shaped almond cookies, chocolate and mint fudge.  She used sewing and picnic baskets, vases, plates on stacks of vintage books, and cake stands to display all the treats.  The table was decorated with flowers in snapple jars (painted white, with the "S" painted in yellow), coffee syrup jars, baby food jars, and whatever else we could find!  Enjoy!:)

Summer Strawberry, Orange Creamsicle, Luscious Lemon


Death by Chocolate


Sunday, April 15, 2012

Floral: Cherry Blossoms


The arrival of spring brings new colors and shapes that winter somehow made you forget...